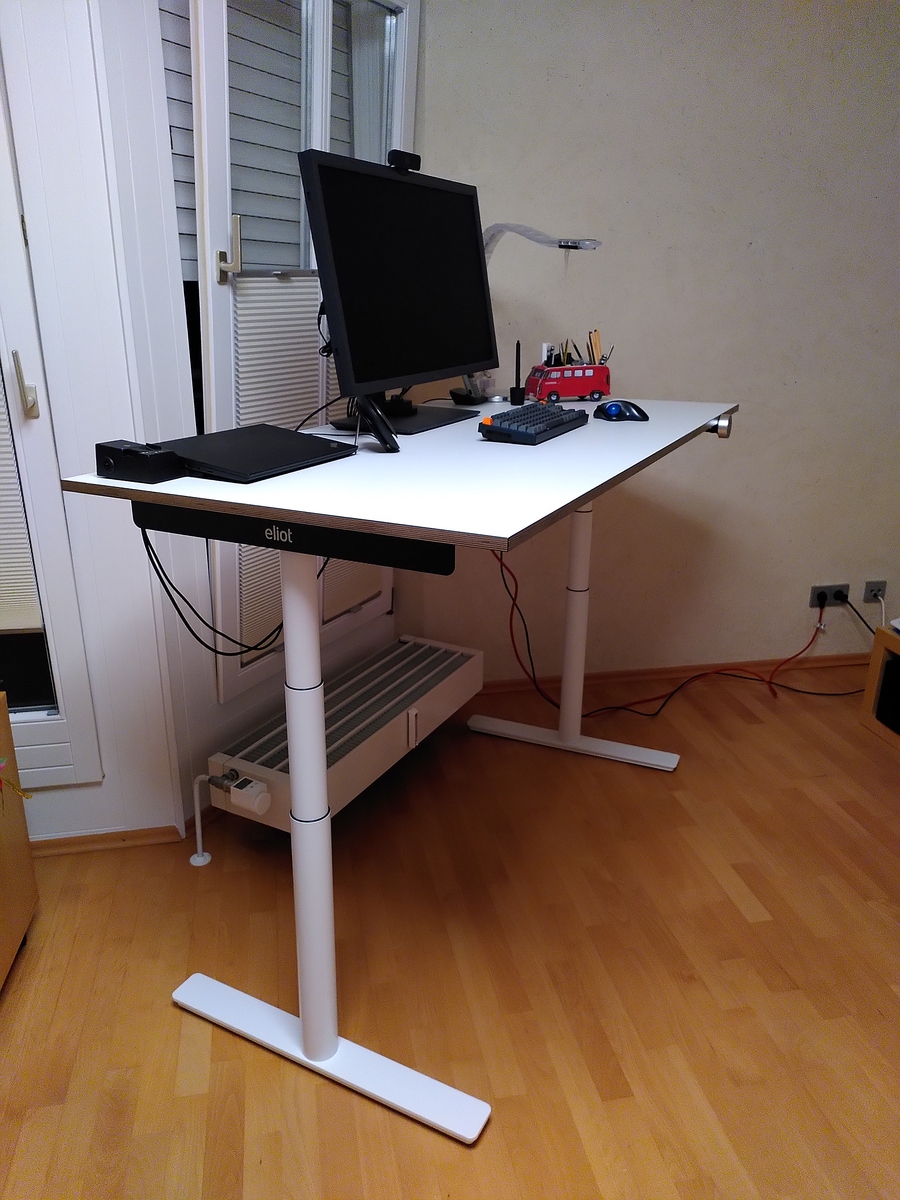
Recently I’ve purchased a height adjustable Eliot desk. I’ve added the smart controller to it so it remembers my preferred settings. I really love its design and functionality.
However there is a pain point. To move the desk to a stored position you have to continously press a button as long as it moves. EU regulation 2006/42/EG mandates this, thus Eliot has to comply with it. I’d much more prefer if I just have to press only for an instant instead,e.g. “1” for my height setting while sitting and “2” while standing.
I did contact the very helpful and responsive folks of Eliot’s support team and they asked me to sign a liability exclusion. Once signed they did provide me instructions how to change the setup so it operates in “one touch” mode. To remind myself and others on the procedure I have written it up here:
put the desk into “reset” mode. This is described in the manual. Basically you move the dial wheel anticlockwise until lowest position is reached. Release it, move it anticlockwise again and hold it until “Reset” appears.
While “Reset” is blinking press the “1” button until you see “10.1” in the display. Now the controller has changed its setup to “one touch” mode.
Move the wheel again anti-clockwise to leave reset mode.
Done.
To switch back to “permanent touch” mode apply the procedure again, instead you’ll see “10.2” instead of “10.1” in the display.
Recently I faced an issue with rate limiting of some remote service. I was sending more requested to that endpoint than allowed and therefore I’ve received errors messages when being beyond the limit.
Luckily the hoster of my linux client box does provide multiple IP addresses for that machine. By splitting the work into multiple processes and assigning different IP addresses to those processes I was able to prevent the rate limiting issues.
To use those addresses I had to explicitly configure them in addition to the the standard DHCP one. I’ve amended them to /etc/netplan/01-netcfg.yaml (obviously these are not the real ip numbers):
Still any outgoing netwerk connection uses the default IP address. This can be tweaked using a combination on cgroups and iptables. cgroups are part of Linux since ages and allow to isolate and constrain resources for a given process, something e.g. Docker makes heavily use of. For convience I’ve installed apt install cgroup-tools, see https://github.com/mk-fg/cgroup-tools.
First we create a network classifier cgroup for each ip address we have. Those network classifier groups allow to tag each packet with an identifier (net_cls.classid) that can be evaluated later using iptables:
To force a given command to use a specific IP address we wrap the command in a cgexec call. The following example will use source ip 123.123.123.124 when pinging to www.heise.de:
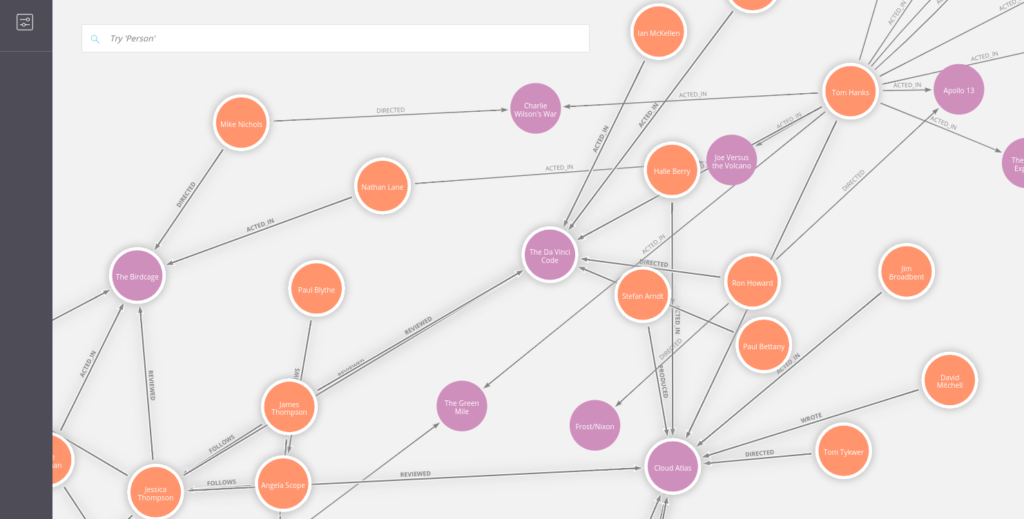
If you’re familiar with Neo4j most likely you’re aware that Neo4j delivers an offical docker image. This short post shows a script allowing you to bundle a Neo4j docker container with the latest version of Bloom – a graph visualization product from Neo4j. Additionally it bundles also the matching version of the APOC library to your docker container.
Last week I had a business trip to Wolfsburg and took the opportunity to take a few shots at the “Volkswagen Autostadt”. Unfortuantely there was construction work going on, so I managed only a few reasonable photos.
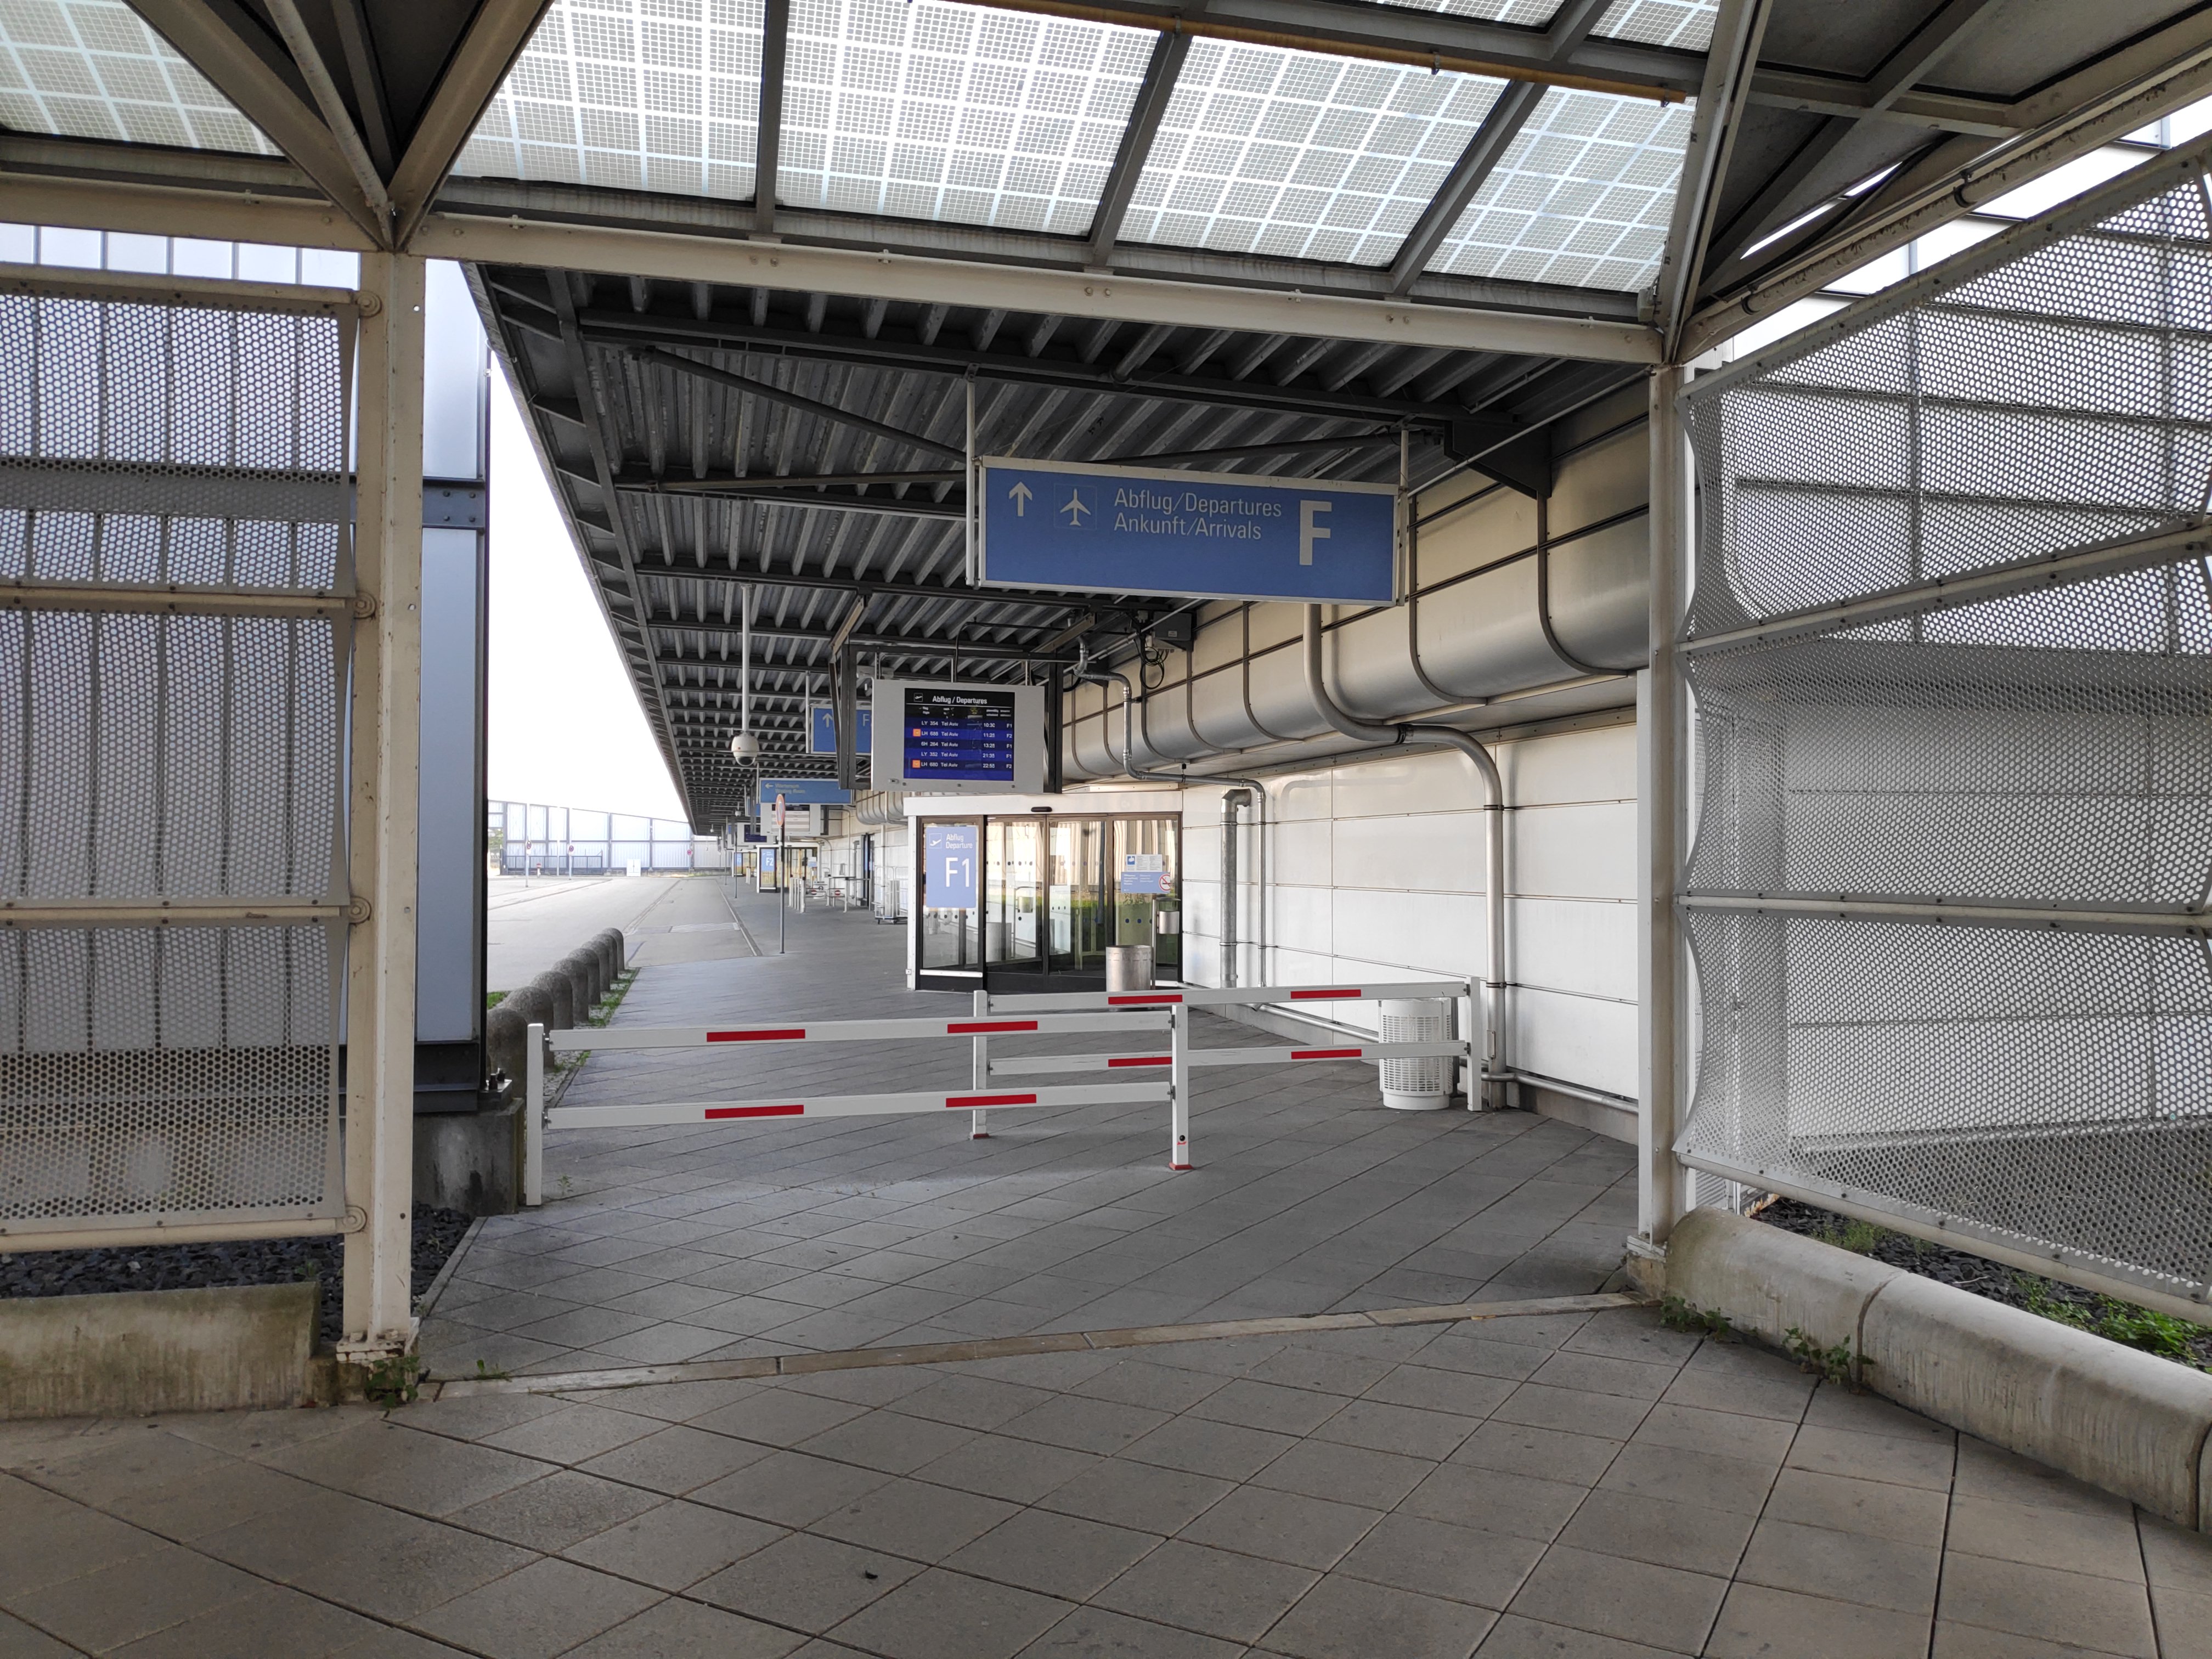
Most of Munich airport is a rather pleasant experience: compared to lots of others it’s a modern and efficient airport. Aside from typical long waiting time at the baggage claims there’s one major pita (pain in the ass): the so called “Terminal 1F”. Let me describe it.
About Terminal 1F
Terminal 1F is used solely for all flights to Tel Aviv. It’s a hall close to the end of the world – well not precisely, but prepared for a ~10-15 mins walk from the airports main area. Also be prepared that you cannot go directly there with a taxi. 1F has a separate checkin and security checks. It lacks almost any infrastructure. Last time I was there I’ve found one single power plug (!) for the whole area. There’s one bar serving lousy stuff and there’s a few toilets and seats.
Don’t expect stuff like restaurants, shops, desks, smoking area or even a proper lounge. Since you are expected to be early at the airport due to enhanced security checks be prepared for a boring long time in “Terminal 1F” – you can savely call it “Munich airport’s shithole”.
Now the weirdness: if you travel with Lufthansa to Tel Aviv you need to take a bus from Terminal 1F to the well equipped Terminal 2. After the bus ride you go up the stairs to level H of terminal 2 and from there you board your plane via a finger. Cannot comment if El Al does the same or if they use a bus to board at the apron since I did never fly with them.
If you have a connection flight via Munich you won’t see the shithole since you can board your plane to Tel Aviv directly via gates on level H. But there’s an another security check involved.
According to an email I received from Munich airport there’s a official order from an authority demanding that flights to Tel Aviv are handled separately. Unfortunately even after multiple requests I did not get a precise answer which authority is responsible for this. My guess is that this special handling is related to the Munich massacre back in 1972 where 11 Israeli athletes and coaches and 1 policeman were murdered during the olympic games.
Even with history in mind I cannot see an objective good reason why Munich airport forces all passengers to Tel Aviv in the last 45+ years into the shithole procedure.
The Workaround
Luckily I’ve found a way to prevent the shithole 1F when flying to Tel Aviv – that “workaround” worked already multiple times very well for me. So I think it’s a good idea to share it.
My trick only works if you don’t travel with checked luggage. Since my trips to Tel Aviv are for business purposes and only for a few days, that’s not an issue for me. Another limitation is that it works only with Lufthansa flights.
Just do the normal online check-in and make your way to the airport. Proceed to the normal security checks in terminal 2. You cannot go through the automated boarding pass checks for flights to TLV. You have two options: if you have a Star Alliance gold status you can go to the first class area at the right hand side. For that area they don’t use automated boarding pass checks. Instead a human will look at your boarding pass. There’s a good chance they don’t recognize “TLV” as your destination and you can just go through security.
If you don’t have a gold status or you got denied by human boarding pass check you need to pick the other option: Take your smartphone and book a Lufthansa flight in tarif business flex for the same day but with a rather late departure. Lufthansa business flex is horrible expensive but fully refundable – that’s the important bit. After purchase do the online checkin and voila – you have a boarding pass granting access through automated boarding pass check. Just go through security. Now you can savely cancel checkin for the business flight and also cancel the ticket for refund.
Once security is passed go upstairs to level H and get through passport control. Then make yourself comfortable either in the wonderful Lufthansa lounge (if you have access to) or some nice restaurant or bar. On the departure screen you’ll see your flight being assigned a H42-H48. Be aware you need to pass another secuirty check since those gates are in a separate area. So far I have never seen long queues at that second checkpoint.
final words
I hope this write up will make your flight to wonderful Tel Aviv a little bit more convenient. In case you have more detailed information which authority is responsible for the “shithole procedure” I’d appreciate a message from you.
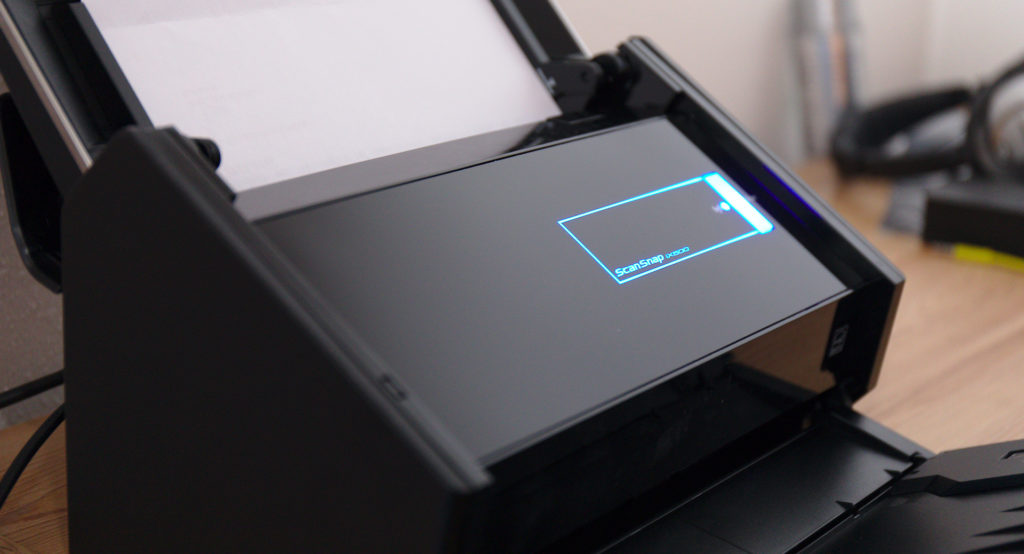
This year’s christmas holiday project was to install a “personal archive” tool. My choice is a tool called paperless. This post describes how I deployed to my existing FreeNAS box in order to help others with similar setups and have a documentation on the setup for myself.
There are cases when you want to access your Neo4j instance remotely and you live in an environment where direct access is not possible. This might be caused by technical or organizational restrictions.
One generic solution to this kind of problems is using a VPN. Another alternative to be discussed in this blog post is using a reverse proxy server. I want to show how you can proxy Neo4j using Nginx.
Neo4j 3.2.0 was released last week at GraphConnect Europe. Among lots of cool new features, unfortunately it has one new “feature” making life of APOC users little bit harder, esp. if you run Neo4j from docker.
Background
Since 3.0 you can enrich Cypher with your own stored procedures. Those are written in Java (or any other JVM language) and get deployed to the /plugins folder. In 3.1 user defined functions were added, followed by aggregate functions in 3.2.
All of them use annotations like @Context GraphDatabaseService db to retrieve a reference to the database itself. For getting deeper into Neo4j’s machinery room one could have @Context GraphDatabaseAPI api allowing you full access. This full access can be abused to break out of the permissions system added in 3.1.
Therefore in 3.2. all procedures and functions run in a sandboxed environment disallowing potentially harmful dependencies like GraphDatabaseAPI from being injected. Using a config option dbms.security.procedures.unrestricted=<procedure names> you can deactivate the sandboxing for a given list of procedures. This config option also allows wildcards like *.
Couple of procedure/functions in APOC depend on using internal components and therefore need to be added as unrestricted procedures. This can be achieved by using apoc.* as value for this config option.
In a regular (aka non-docker) deployment you would just adopt conf/neo4j.conf with that setting.
And Docker?
When starting a Neo4j docker container you can dynamically amend config settings using -e. Everything starting with -e NEO4J_<configKey>=<convifgValue> will be amended to the config file. Be aware that dots need be rewritten with underscore.
There is a gotcha: trying to use `-e NEO4J_dbms_security_procedures_unrestricted=apoc.*` does not work since the shell expands the wildcard * with all file in current directory. Even apoc.\* doesn’t help. I suspect docker internally tries another expansion. What I found finally working is using three backslashes: -e NEO4J_dbms_security_procedures_unrestricted=apoc.\\\*
My typical docker command for firing up a throw-away database to be used for demos and trainings typically looks like this:
Recently Deutsche Bahn started wifi for everyone travelling with a ICE. So far I had trips where it just worked great, on other trips I could not even connect – not on mobile phone nor on my laptop.
Today it was different
We have great signal strength, wifi on my phone works like a charm. Connecting to the wifi works nicely on the laptop as well. But I cannot connect to the login page for accepting t&c.
What happened – the analysis
I have a Thinkpad X1 Yoga laptop running Ubuntu 16.04. Among a gazillion of other packages docker is installed – mostly for dealing with lots of neo4j databases (of course ;-). The wifi (SSID: WIFIOnICE) itself is not authenticated but upon accessing the first webpage you get redirected to URL http://www.wifionice.de. Here I got a “cannot connect” error message in the browser. DNS lookups however worked fine – on couple of other WIFI issues DNS is a common culprit. Using dig www.wifionice.de I’ve learned that this hostname resolves to IP address 172.18.10.10. Next to check are the routing tables:
stefan@x1 ➜  sudo route -n
Kernel-IP-Routentabelle
Ziel Router Genmask Flags Metric Ref Use Iface
0.0.0.0 172.16.0.1 0.0.0.0 UG 600 0 0 wlp4s0
169.254.0.0 0.0.0.0 255.255.0.0 U 1000 0 0 br-034d1e2af367
172.16.0.0 0.0.0.0 255.255.0.0 U 600 0 0 wlp4s0
172.17.0.0 0.0.0.0 255.255.0.0 U 0 0 0 docker0
172.18.0.0 0.0.0.0 255.255.0.0 U 0 0 0 br-034d1e2af367
Interesting, packages to 172.18.0.0/16 are routed to a weird interface called br-034d1e2af367 and are therefore not set via the wifi device. This finding justifies a loud WTF! This bridge interface is established by docker. Since I’m just a docker user without deep understanding of its internals I cannot really explain its exact purpose. But I don’t have to 😉
the workaround
It’s good enough to just disable the bridge network interface while doing the wifi authentication:
ihtsudo ifconfig br-034d1e2af367 down
open http://www.wifionice.de in your webbrowser and press the "go online" button
sudo ifconfig br-034d1e2af367 up
After that operation I could use the internet on a ICE train without hassle.
a more elegant solution
Don’t have this one yet. I seems you can tweak the bridge’s IP number using --bip <CIDR> upon docker startup. But I couldn’t find out the details for now. Happy to read your helpful comments here.
finally {}
This post is mainly intended as a self-reminder for future train trips. If it’s helpful to others as well I’m more than happy. As a reference I’ve posted this in German language to a question on a forum of Deutsch Bahn as well.